One thing I've come to love over the years is creating the pièce de résistance (important focal point) for my children's birthday parties. I'm normally a fan of having birthday parties outside of the house because it is A LOT less work, but I also love to host and appreciate an opportunity to get creative. I have to say, I've really impressed myself with my recent ability to make a vision in my head come to life (Peep this blog post I wrote a couple years ago from my daughter's Mermaid Birthday party - those jellyfish turned out so cool!).
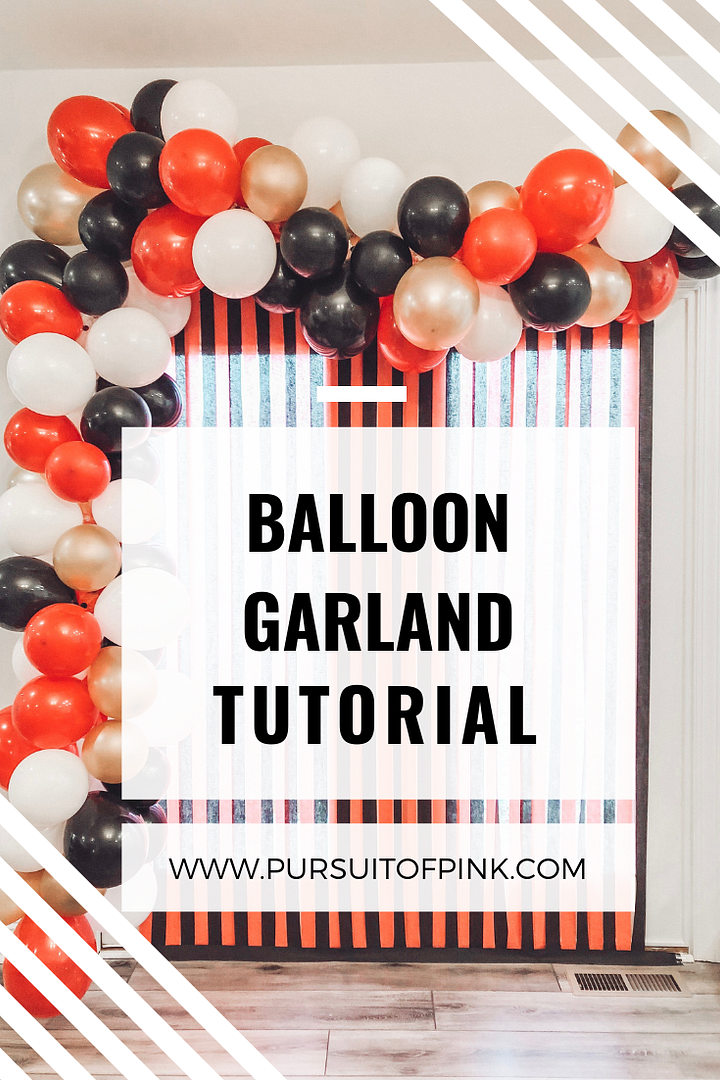
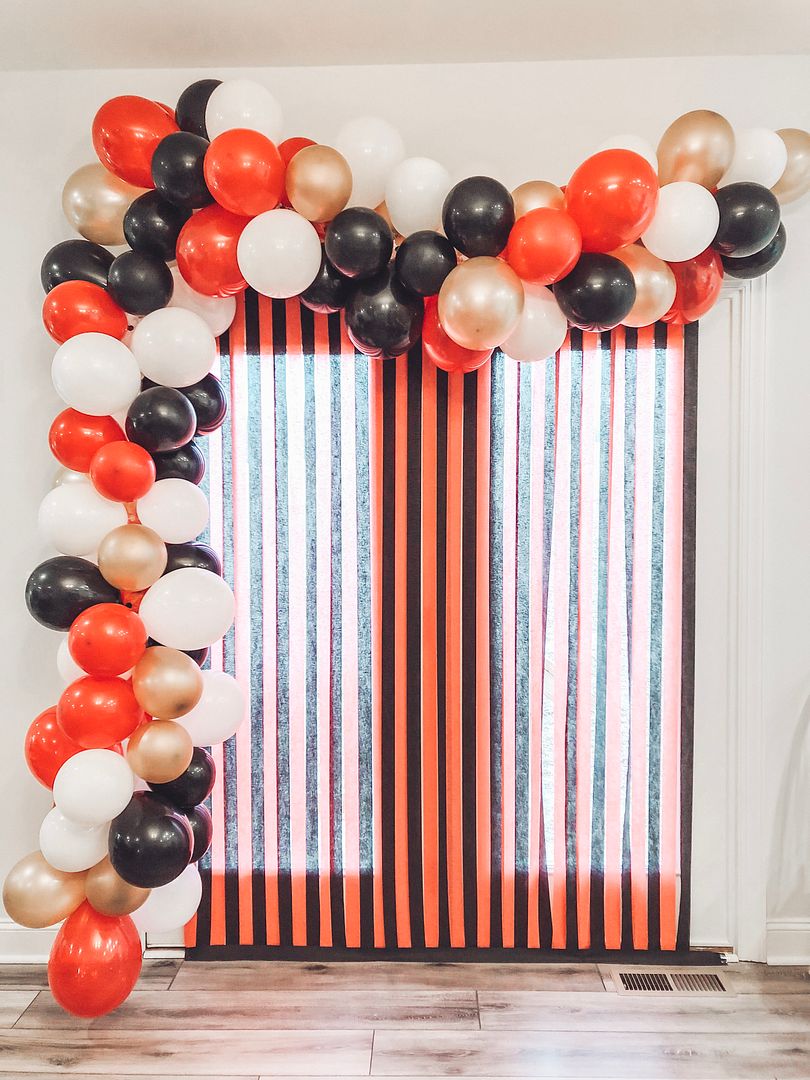
I'm thrilled to share this super EASY tutorial with you on how to make a balloon garland. I made this balloon garland for Knox's first birthday and it turned out exactly as I envisioned it.
(If you want to see a video tutorial of the balloon garland, head over to my instagram stories to see more.)
I'm thrilled to share this super EASY tutorial with you on how to make a balloon garland. I made this balloon garland for Knox's first birthday and it turned out exactly as I envisioned it.
(If you want to see a video tutorial of the balloon garland, head over to my instagram stories to see more.)
Materials needed:
-Balloons (I made three streamers, two are pictured above, using about 150 balloons total)-Pump to blow up the balloons (optional)
-Packing tape
-Hole punch
-Low temp glue gun
-Command strip hooks
-String or twine
The EASY process:
Start by blowing up all of your balloons. I recommend that you use three or four different colors of balloons to help add a bit of variety to your garland. I also recommend enlisting the help of your spouse or mom or a friend to help you blow up the balloons. OR you can use a pump to blow everything up. Tolar and I decided to blow all 150 balloons up ourselves; we watched a sitcom on tv while we got to work. Blow the balloons up to different sizes. (Note: the next time I make a balloon garland, I will have many more small sized balloons)
Grab your packing tape and measure it to however long you need it to be. (We measured the length and width of our doors to determine how long we wanted the garland and cut the packing tape accordingly.) Next cut another strip of packing tape the same length and tape the pieces to each other to make the streamer (you WILL need a partner to help you with this). I taped four pieces of packing tape together to make sure it was sturdy. When I made my practice garland, I only used two pieces of tape and it would sometimes rip. Four pieces did not rip and worked perfectly.
Take your hole punch and zig zag holes into the packing tape streamer. It doesn't need to be perfect, just punch holes wherever you like.
Now it is time to assemble!
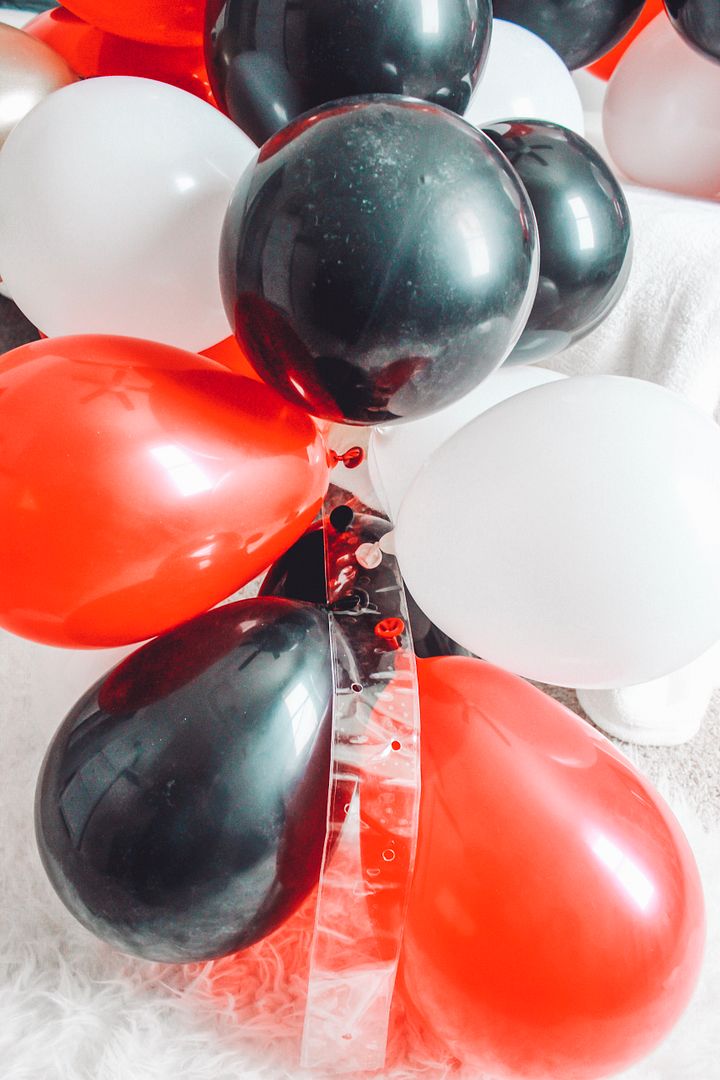
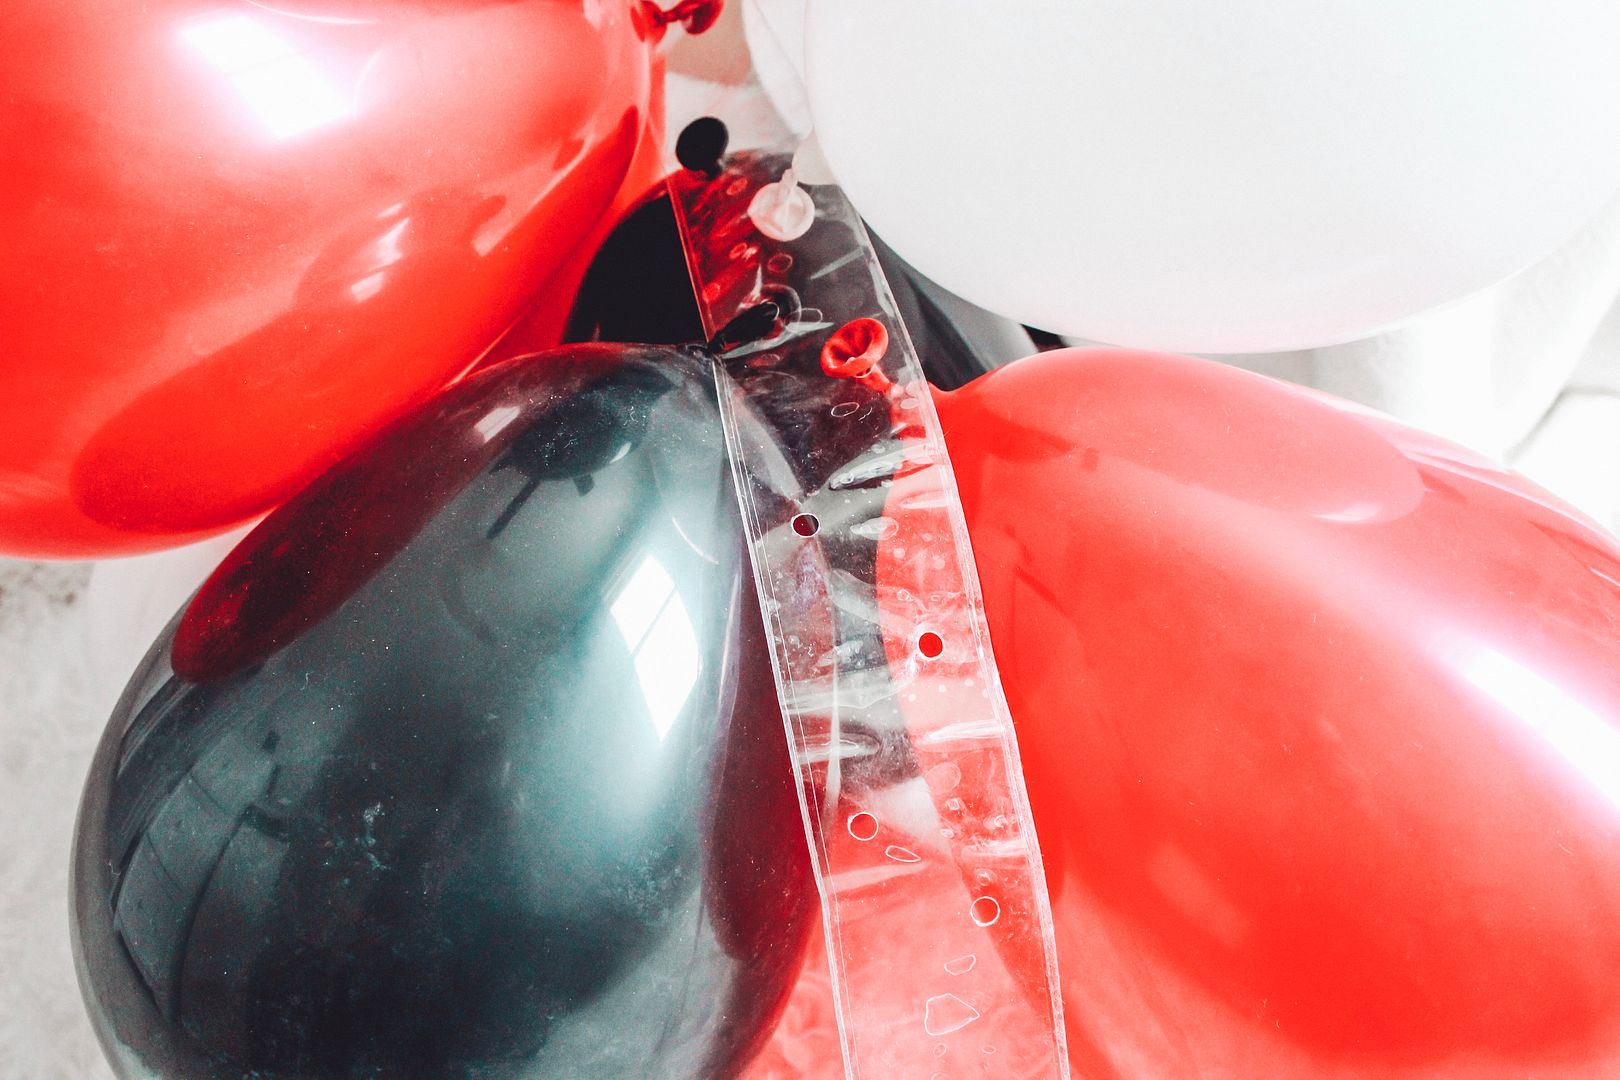
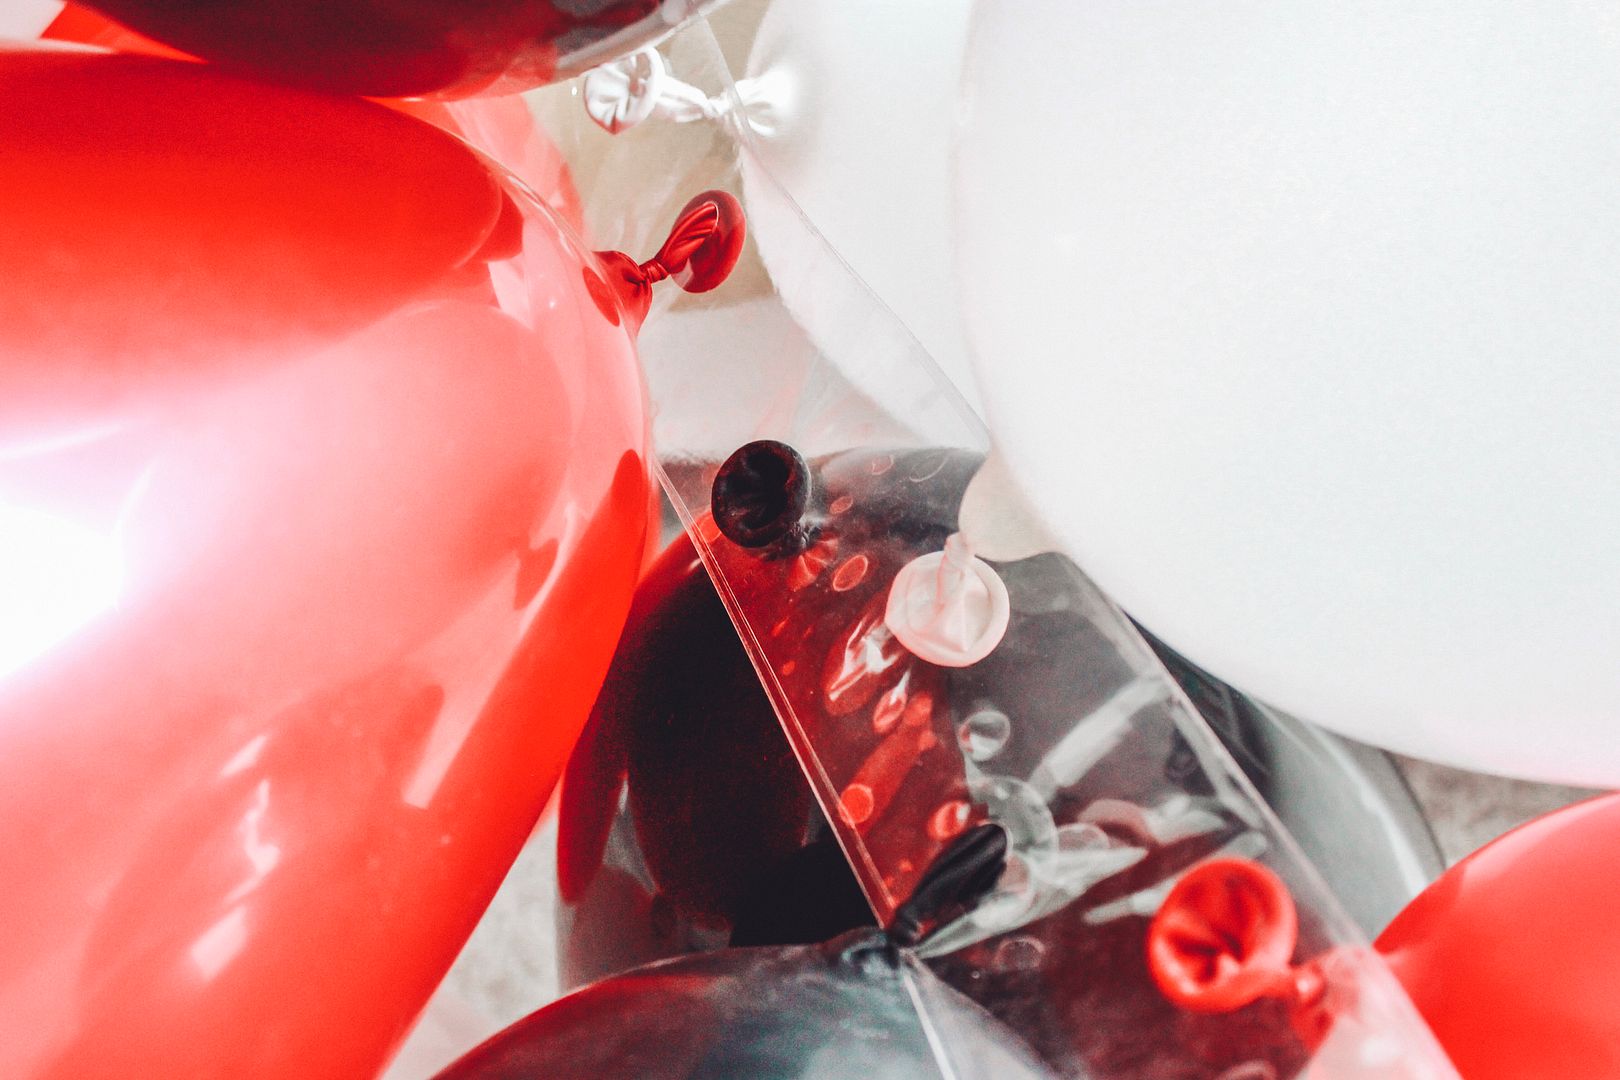
Take a balloon and thread the tied end through one of the holes. Then grab another balloon and thread the tied end through but from the other side of the tape, so you have balloons both on top and on bottom of the tape. Keep adding balloons to your streamer. I didn't create a pattern per se, I just grabbed different colors and sizes and tried to make sure I didn't have too many of the same color together in one spot. When you first start assembling, it will feel like the garland is going to be flimsy and not so full, KEEP GOING. Trust me, by the time you fill the packing tape streamer up half way, you will already see the garland taking shape and it will be nice and full.
Take a balloon and thread the tied end through one of the holes. Then grab another balloon and thread the tied end through but from the other side of the tape, so you have balloons both on top and on bottom of the tape. Keep adding balloons to your streamer. I didn't create a pattern per se, I just grabbed different colors and sizes and tried to make sure I didn't have too many of the same color together in one spot. When you first start assembling, it will feel like the garland is going to be flimsy and not so full, KEEP GOING. Trust me, by the time you fill the packing tape streamer up half way, you will already see the garland taking shape and it will be nice and full.
Once you get the garland assembled, it is time to hang the garland. I punched one extra hole on the end of the tape streamers when we went to hang the garlands. Then I tied twine (you can also use string - or really whatever you have) through the hole, making a loop. Next we placed Command strip hooks on the wall where we wanted to hang the garland and just hung the garland up by the string that was looped through. I do recommend that you hide the Command strip hook behind the garland to conceal it.
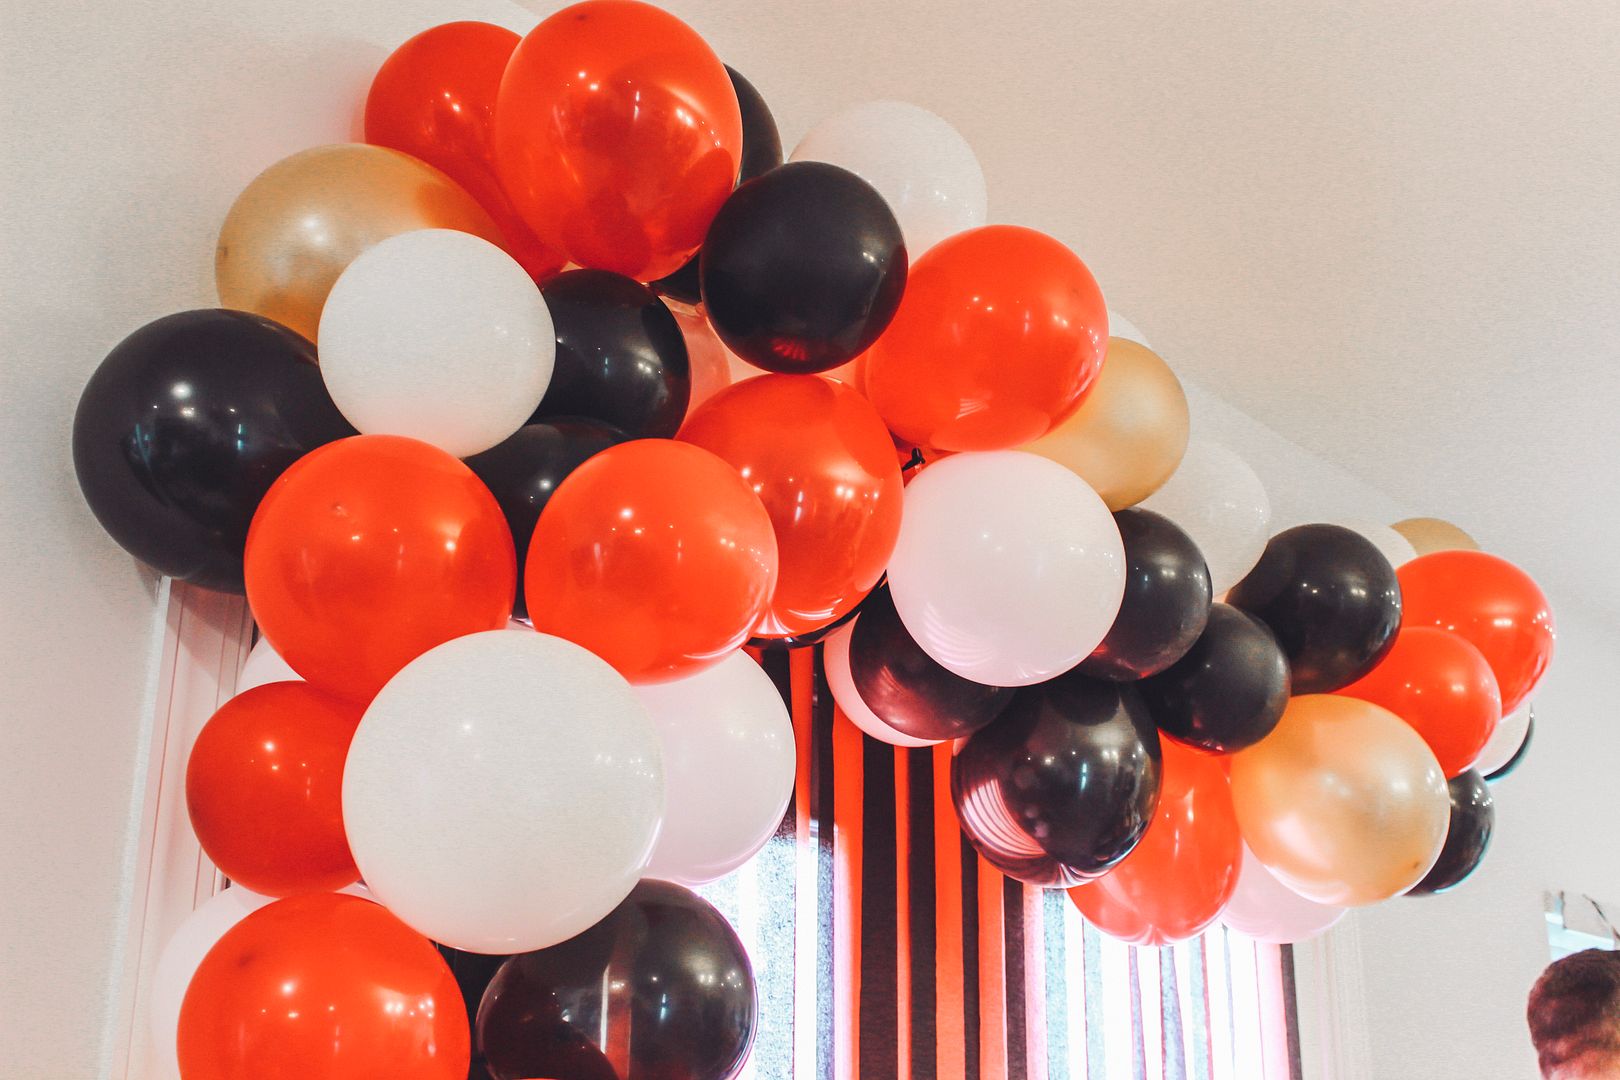
After everything is hung, you need to fill in any holes. The holes are best filled in with small balloons, this will certainly add dimension to your garland. Using your low temp hot glue gun (because a high temp one will pop the balloons!), glue small balloons onto the garland to cover up any bare spots. This is also a great time to cover up any areas where you can see the packing tape peeking through. You can also use faux greenery or flowers to cover up the packing tape.
And that's it! Easy peasy.
We assembled the balloon garlands the night before the party. I found it easiest to assemble ahead of time so I wasn't stressed the next day. If you do assemble your garland the night before, save some extra balloons just in case any deflate over night. Then you can easily blow up your extra balloons and replace the ones that deflated when you are ready to hang them up.
For a very small cost and just a couple hours time, you can create a stunning decoration for any occasion.





So going to have to try to make one of these for my next party.
ReplyDeletehttp://www.amysfashionblog.com/blog-home